Hi folks I was desperste to get some crafting done this weekend after a couple of weeks without any time to actually do some.
What was going to be my inspiration?? well I bought a skirt for my DD. which she had sort of politely said Yuck to.
I knew I didn't want to give it away or let it sit in a cupboard somewhere to eaten by moths.
So I decided to Repurpose it
 This skirt had a great waist band so I wanted to use that in the design of the bag.
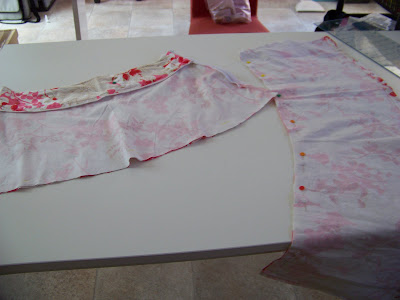
 First I decided how long I wanted the bag to be and cut it accordingly…mine was 12”
Notice the bag would have to be lined.

So with the off cut I measured and cut the appropriate amount to be the same as the bag itself but with a little extra on the edge to allow for ¼” seam.

With some more of the off cut I cut out 2 pieces 10” x 4 ¾” for a pocket. Then I over locked around 3 edges and left one open to turn the pocket out. I ironed the pocket and tucked under the edge that was left open for turning.
 I over locked the base of the outer part of the bag.
I stitched the pocket to the inner lining.

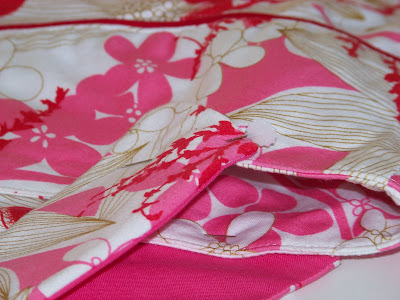
I stitched up the edge of the inner lining, I turned the outside of the bag inside out. Now I had to line the bag. I slipped the lining over the (inside out) outer bag so I had the two wrong sides together. There was a bit of overlap from the waistband and it was perfect to tuck the lining under. I would follow the stitching line that was already there for the waistband.

This skirt had a zipper up the side, I decided I would leave it there. I unstitched the little bit of edge that was stitched to the zipper and tucked the edge of the lining snugly up against the overlap matching side seams. I pinned all the edge of the lining under the overlap.

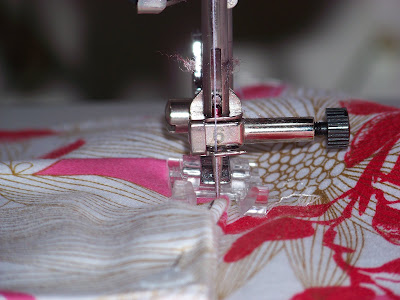
I went ahead and stitched along the existing stitching line to stitch down the lining.
On the outside it looked like it had been part of the skirt stitching from the start.

Here you see the lined bag without handles.

I cut out 2 strips 2 ½” x 18 ½” from the off cuts and 2 the same size from a contrast fabric I just happened to have. I sewed a contrast piece and a floral piece right sides together leaving one end open on each handle. I turned them and ironed them.


WOW Mandy, I will have to send you down a skirt or two so i can get a new craft bag. good job.
ReplyDeletedolly hugs.
Rita(mum)
fantastic you clever girl..hugs Khris
ReplyDeleteAwesome bag I love it, you are a clever girl indeed
ReplyDeleteI'm really impressed, well done Amanda, it's really great.
ReplyDeletehugs
Diana
Lovely bag, I love to re-purpose/reuse items, you did a fantastic job showing how you did it!
ReplyDeleteThanks Ladies...I tried really hard.
ReplyDeletegreat to see the end result from something that started as a picture in My head...I am a visual person so i could see it finished...that's how I did it.
hugs to all
Amanda
Looks fabulous Amanda! Great way to recycle and get a pretty item to use!
ReplyDeletehugs Karen
Oh this is wonderful Amanda. Excellent!
ReplyDeleteI love it--did I tell you that "pink" is my favorite color???
ReplyDeletegreat job--
Hugs, Di
Truly fabulous Amanda. Your right I never would of known that its past life was a skirt.
ReplyDeleteHugs
Tracee
Has DD changed her mind about her skirt now? I know I would. Great job, I love it. Hugs Naomi
ReplyDeleteI just love repurposed projects! Does your daughter like it now? I do. But then I liked it as a skirt, too!
ReplyDeleteThat is super!
ReplyDeleteHi Amanda. I was just catching up with the blogs when I spotted your bag tutorial - the bag is so pretty. I must try this out myself.
ReplyDelete